Table of Contents
Introduction to 2026 Wedding Album Design
Designing a wedding album is about so much more than just picking out pretty pictures; it’s about carefully preserving the heartbeat of one of the most important days of your life. These albums aren’t just books on a shelf—they are tangible keepsakes that let you step back into those emotions whenever you turn a page.
Historically, wedding albums were all about the craft of the physical book. Every photo was manually arranged, requiring a real eye for storytelling and a lot of meticulous planning to make sure the celebration felt “alive” on the paper.
Today, technology has entirely changed the game. Digital photography and professional design software have opened up so many creative doors. We’ve moved beyond static pages to interactive digital formats where you can truly play with the narrative. It’s now easier than ever to tailor an album so it feels like a genuine reflection of a couple’s unique personality and style.
Modern designers often lean on flexible tools like Photoshop (PSD) templates to get the job done. These templates act as a creative framework, making it simple to tweak layouts, play with color palettes, and experiment with different themes. It allows the photos to be transformed into a cohesive visual story that’s dripping with nostalgia.
In our digital-first world, the art of the wedding album is as vital as ever. It gives designers a chance to be truly artistic and provides couples a beautiful, lasting way to honor their love story. Whether it’s a classic print or a modern digital masterpiece, the goal remains the same: capturing the magic of “I do” forever.
How to Download and Use 2026 PSD Templates
Downloading and using 2026 PSD templates for your wedding album doesn’t have to be a technical headache—it’s actually a pretty straightforward way to give your layouts a professional edge. Here is how to get started:
First, you’ll want to find a reliable site that offers wedding album PSDs. For example, our site, www.fotoshop.in, is also permitted to obtain free PSD templates, and the download link is also given below. There are plenty of great platforms out there where you can browse through different styles until you find one that really fits the “vibe” of the wedding you’re designing.
Once you’ve found the perfect template, just hit the download button. Usually, the file will land in your downloads folder as a .zip file to keep the size manageable. To get to the actual design, you’ll need to “unzip” it—just right-click the folder and select “Extract All.”
Now for the fun part: opening the file. Most people use Adobe Photoshop, but if you’re using an alternative like GIMP, just keep an eye on compatibility. Head to File > Open, grab your extracted PSD, and you’re ready to go.
When the template loads, take a second to look at the Layers panel. Most well-made PSDs are built with layers so you can easily swap out photos, tweak the colors, or change the text without messing up the whole layout. Customizing the design is the goal. Just remember to save your progress as you go so you don’t lose any of that hard work!
With a little bit of patience, even if you’re new to design, these templates make it incredibly easy to turn a collection of photos into a polished, sentimental masterpiece.

Frequently Asked Questions
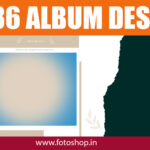
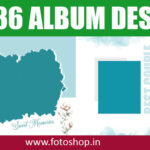
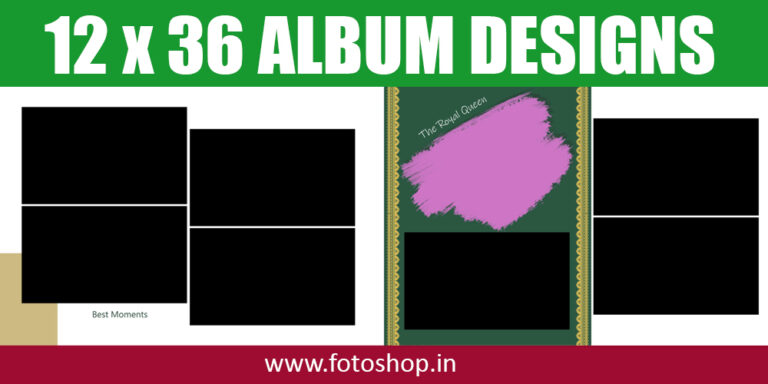
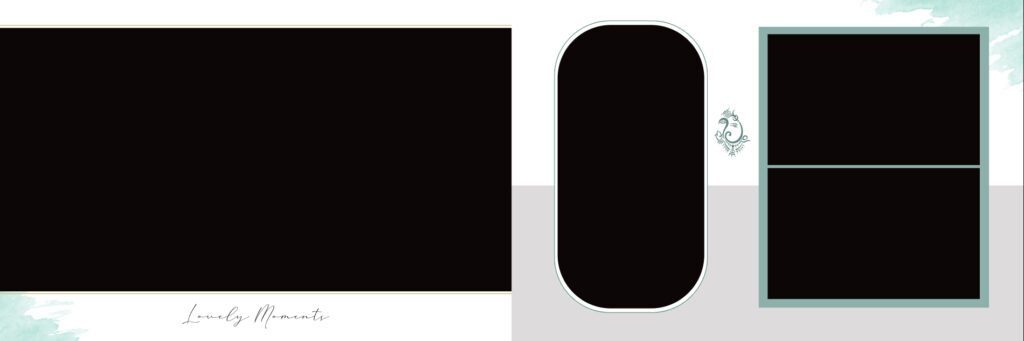
1. What are 12×36 wedding PSD template backgrounds?
These are pre-designed digital backgrounds specifically created for wedding photo albums in a 12×36 inch panoramic size. They are completely layered and editable with Adobe Photoshop because they are in the PSD (Photoshop Document) format. They provide the visual foundation for a single album spread, upon which you can place photos, text, and other design elements.
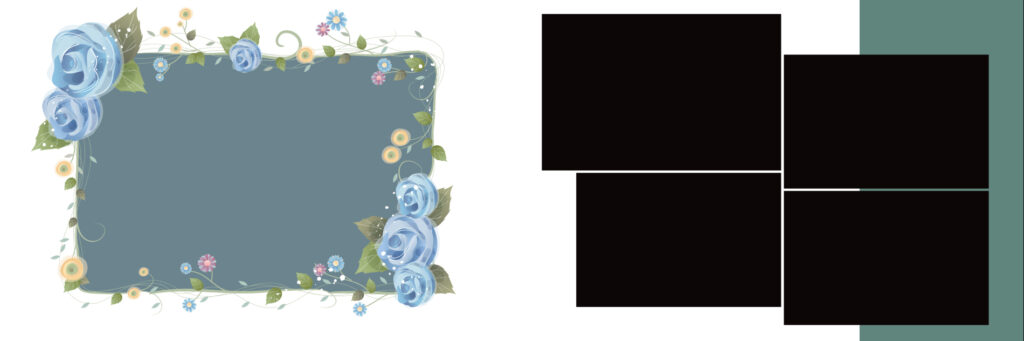
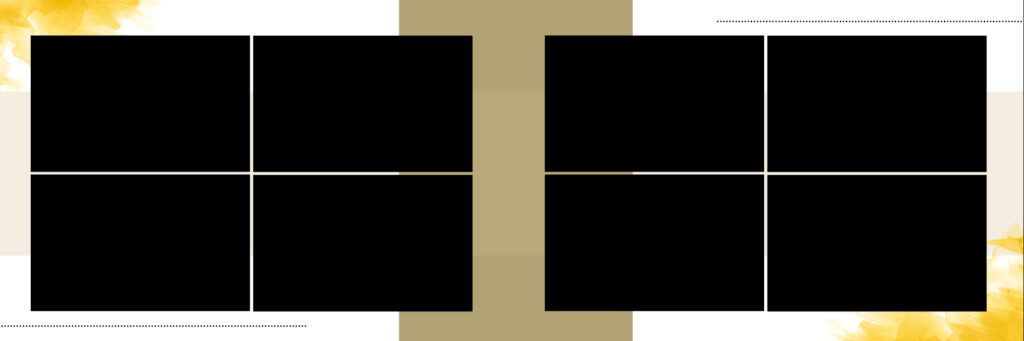
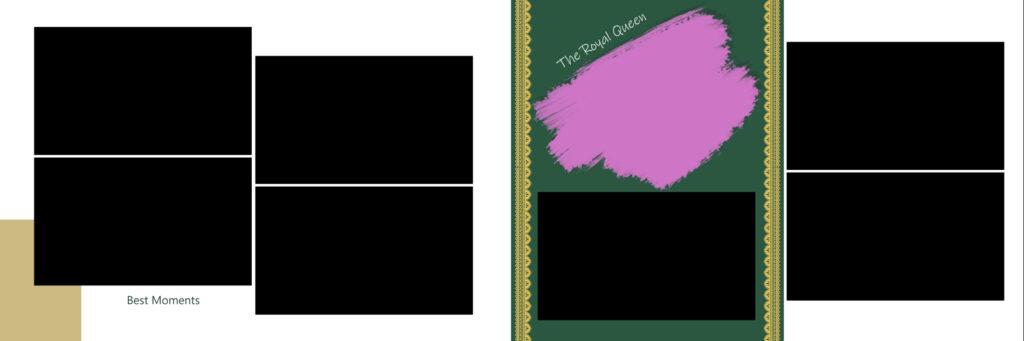
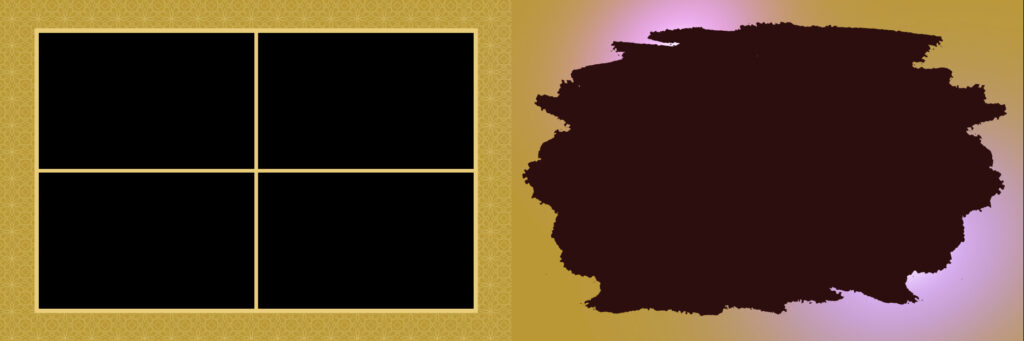
2. What are the different types of 12×36 wedding PSD backgrounds available?
You can find a wide variety of styles to suit any wedding theme, including:
- Minimalist/Clean: Simple, elegant backgrounds with lots of white or neutral space to let the photos stand out.
- Floral/Nature: Designs featuring intricate floral patterns, leaves, or nature-inspired motifs.
- Vintage/Rustic: Textures like wood, lace, or faded paper, often with muted color palettes.
- Modern/Geometric: Clean lines, geometric shapes, and bold color blocks for a contemporary look.
- Artistic/Painted: Backgrounds with watercolor textures, brush strokes, or abstract art elements.
- Themed: Specific designs for Haldi, Sangeet, reception, or traditional ceremonies.
3. Why should I use a pre-designed background instead of creating my own?
- Time-Saving: They eliminate the need to design a background from scratch, allowing you to focus on photo selection and placement.
- Professional Quality: Designed by professionals, these backgrounds ensure a high-quality, polished look that can be difficult to achieve on your own.
- Consistency: Using a pre-designed set of backgrounds throughout an album ensures a cohesive and harmonious visual flow.
- Creative Inspiration: They can spark new ideas and help you create a unique design that you may not have thought of otherwise.
4. How do I utilize a 12×36 PSD background in Photoshop?
The process is straightforward:
- Open the PSD file in Adobe Photoshop.
- Import your photos and place them on top of the background layers.
- Use a clipping mask or drag and drop into the designated photo placeholders (if any) to seamlessly integrate your images.
- Customize any text, colors, or other layered elements to match your photos and the wedding theme.
- Save the final design as a high-resolution JPEG or TIFF for printing.